Proper wall preparation before painting helps remove dust, fix cracks, treat damp patches and create a clean base for colour. Whether you are painting interior rooms or exterior walls, this first step affects how even, neat and durable the final result looks.
In this guide, you’ll learn everything you need to know about wall preparation before painting, including cleaning, repairing, sanding, and priming surfaces effectively.
Why Wall Preparation Is Important Before Painting
Wall preparation is the base of a good painting job. It helps the surface become clean, even and ready for colour. A proper painting procedure always begins with checking and preparing the wall before applying primer or paint.
Ensures Better Paint Adhesion
A clean surface helps paint stick better and reduces the chances of peeling.
- Paint sticks well only when the wall is free from dust, grease, loose particles and old flaking paint.
- Clean and well-prepared surfaces allow the new coat to bond properly with the wall.
- This helps reduce peeling, cracking and flaking after the paint dries.
Improves Paint Finish
A smooth wall helps the final coat look cleaner and more even.
- Smooth walls give a cleaner and more professional-looking finish.
- If the surface has bumps, cracks, holes or rough patches, these marks can become visible after painting.
- Properly prepping walls for paint helps create an even base, so the final coat looks balanced and polished.
Increases Durability
Good preparation gives paint a stronger and more stable base.
- Preparation also supports the life of the paint.
- When moisture, dust and surface damage are treated before painting, the wall paint gets a stronger base.
- This helps the painted surface stay neat for longer, depending on the wall condition and maintenance.
Key Differences Between Interior and Exterior Wall Preparation
Interior and exterior walls need different types of preparation because they face different conditions.
Interior Wall Preparation
Interior wall preparation mainly focuses on making the surface clean, smooth and ready for an even paint finish.
- Interior walls usually need basic cleaning to remove dust, stains and grease marks.
- Small cracks, holes and dents should be filled before primer is applied.
- The interior wall painting procedure is usually less intensive because indoor walls are not directly exposed to rain, sunlight or outdoor dust.
Exterior Wall Preparation
Exterior wall preparation needs extra attention because outdoor surfaces face weather, moisture and pollution.
- Exterior walls need deeper cleaning because they are exposed to dust, rain, sunlight and pollution.
- Old peeling paint, algae, mould and loose surface particles should be removed before painting.
- The exterior wall paint procedure may include pressure washing, anti-fungal treatment and stronger priming.
Step-By-Step Wall Preparation for Interior Painting
A clear process makes interior painting easier and more effective. These steps for interior painting help prepare the wall properly before primer and paint are applied.
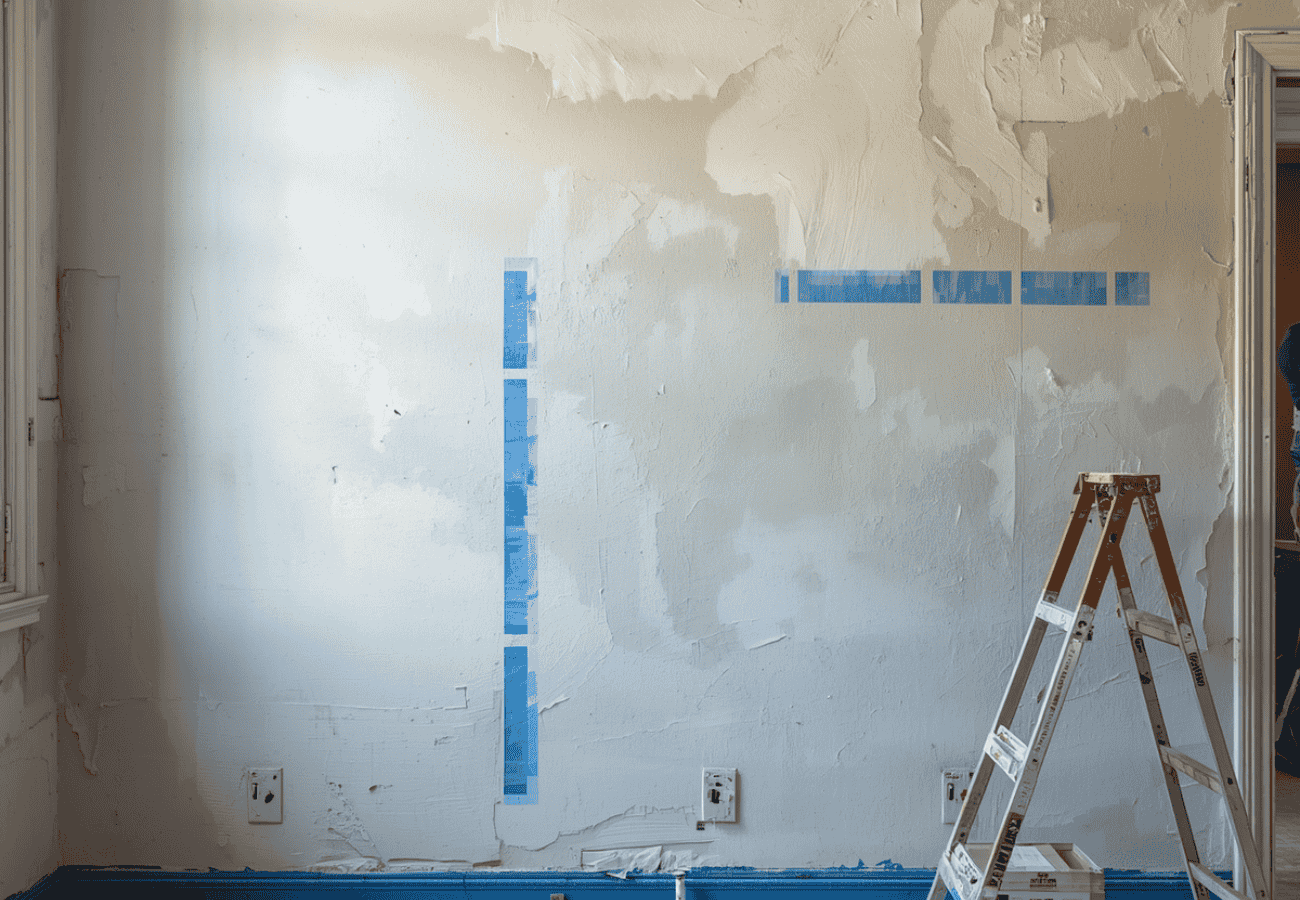
Inspect the Wall Surface
Start by checking the wall carefully in good light. A proper inspection helps identify problems that may affect the final finish.
- Check for Cracks and Holes: Look for holes, small cracks, dents and broken plaster.
- Look for Dampness or Stains: Check for water marks, peeling areas or dark patches.
Clean the Walls
Cleaning is an important part of the interior painting process. Paint should not be applied over dust, grease or loose particles.
- Remove Dust and Dirt: Use a dry cloth, soft brush or vacuum cleaner to remove loose dust.
- Wash Grease and Stains: Use a mild cleaning solution for greasy or stained areas, especially in kitchens and high-touch spaces.
Repair Surface Imperfections
After cleaning, repair all visible marks and uneven areas. This step helps the surface look smooth after painting.
- Fill Cracks and Holes: Use wall putty or suitable filler to cover cracks, holes and damaged patches.
- Sand the Surface: Once the filler dries, smooth the area with sandpaper. Sanding is often the best way to prep walls for painting when the surface has rough patches or uneven repairs.
Apply Primer
Primer helps prepare the wall for paint. It can improve paint adhesion and support better coverage.
- Choose the Right Primer: Select a primer suitable for the wall type and paint finish. If you are finalising shades from a colour catalogue, priming the surface first can help the chosen colour appear more even.
- Ensure Even Application: Apply primer in a uniform coat across the wall. This creates a steady base before the final paint is applied, especially if you are planning decorative finishes or exploring wall mural painting ideas.
Step-By-Step Wall Preparation for Exterior Painting
Exterior walls need more detailed preparation because they face rain, heat, dust and moisture. A planned building painting procedure can reduce surface problems before painting begins.
Inspect Exterior Walls
Check the outside walls carefully before starting any work. This helps identify damage that needs repair.
- Check for Structural Damage: Look for cracks, flaking paint, loose plaster and water damage.
- Identify Mould or Algae Growth: Check for mould, algae or damp patches on the exterior wall.
Clean the Surface Thoroughly
Exterior surfaces collect more dirt than interior walls. They need stronger cleaning before repair work begins.
- Pressure Wash the Walls: Where suitable, pressure washing can remove dust, loose paint and surface dirt.
- Use Anti-Fungal Solutions: Treat areas affected by mould, mildew or algae with a suitable anti-fungal solution.
Repair and Smooth the Surface
After cleaning and drying, repair the damaged areas so the wall becomes firm and even.
- Seal Cracks and Gaps: Use exterior-grade fillers for cracks and gaps.
- Scrape Off Old Paint: Remove peeling or flaking paint with a scraper. A clean surface is important if you want to repaint a wall like an expert and avoid early peeling.
Apply Exterior Primer
Primer is an important step for exterior walls. It prepares the surface before the final coat of paint.
- Use Weather-Resistant Primer: Choose a primer made for exterior surfaces because it protects walls from moisture and harsh weather conditions.
- Allow Proper Drying Time: Let the primer dry fully before painting. Rushing this step can affect adhesion and the final finish.
Tools and Materials Required for Wall Preparation
The right tools and materials make wall preparation cleaner and more organised.
Essential Tools
Basic tools used for wall preparation include:
- Sandpaper or sanding machine
- Putty knife
- Paint scraper
- Roller and brushes
These tools are useful for cleaning, scraping, filling, sanding and applying primer. They are also helpful when following the steps to paint a wall like a pro.
Materials
Common materials used before painting include:
- Wall putty or filler
- Primer
- Mild cleaning solutions
- Anti-fungal treatment
The choice of material should depend on wall condition, surface type and whether the wall is indoors or outdoors.
Common Mistakes to Avoid
Avoiding these common mistakes can improve paint adhesion, coverage and the final finish.
Skipping Surface Cleaning
A clean base is also important before following an easy guide to paint an accent wall, as dust or grease can make the finish look patchy.
- Dust, grease and loose particles can stop paint from sticking properly.
- This can lead to poor paint adhesion and an uneven finish.
- Walls should be cleaned and dried before primer or paint is applied.
Ignoring Cracks and Dampness
Cracks and dampness should be fixed before painting:
- Cracks, holes and damp patches should not be covered directly with paint.
- Moisture can cause paint to peel, bubble or form stains over time.
- These issues should be repaired and treated before painting begins.
Not Using Primer
Primer creates a better base for paint and helps the final finish look smoother and more even:
- Primer should not be skipped when the wall surface needs it.
- Without primer, paint coverage may become uneven.
- It can also reduce paint durability and affect the final finish.
Conclusion
Wall preparation is a crucial step that directly affects the final painting result. Whether the work is for interior or exterior surfaces, proper cleaning, repairing, sanding, and priming help create a smooth, neat and visually appealing finish. Berger Express Painting can support homeowners with inspection, surface preparation and final painting through trained experts, suitable materials and organised painting services for a cleaner and more reliable result.